skip to main |
skip to sidebar
One night a couple of weeks ago, much to our plumber's dismay, I took the second chimney down. You see, he conveniently forgot our little conversation about how we would like to direct vent the boiler rather than it running up a useless crumbling chimney through our house. He is now convinced that we are evil people who "change things all the time"...but that's another story.
Anyway, back to the chimney. After over a year I've discovered that this is the area in which I excel. Destroying things. The rebuilding process has often left me confused or frustrated (aka: whimpering and whining about why that piece of wood is not the length I cut it, or sniffling about the water that won't stop dribbling through my roof). But taking things down...mindless, easy, sometimes even relaxing.
Of course I probably only say this about the chimney because, well, it was super easy to take down. Something about the combination of old old old bricks and water getting into the chimney over time made them come down like unstacking legos. Well, I did have to tap each brick like once or twice and then remove it...but that sure beats having to use a chisel, which is what my research led me to believe I would have to do. But I didn't, so ha.
 As usual I stirred up an amazing dust cloud before remembering to take the first picture.
This is upstairs as the removal is just starting. Upstairs chimney removal complete.
 Downstairs before removal.
 Starting to take it down.
 Getting closer.What happened next, I can only guess is that I collapsed in a heap and passed out after forgetting to take an after shot. Oh, and do you like our collection of PVC? Apparently, upon delivery of the PVC the plumber is then granted a two week break before any actual work begins. Hmmm, two sarcastic, scathing comments about the plumber in one post? Might be a sign of stories to come.
Is anyone else tired of looking at demo? Just me? Well if you aren't then you are in for a treat, because that's all we (mostly P's dad and bro) have been doing since the exterior wall rebuild extravaganza 2010. I have already shared pictures of the bathroom mess and thanks to our aforementioned family heroes that mess is all cleaned up. Thanks again guys! The bathroom isn't the only thing getting a little pry bar love. We had/have to do all the other rooms too. So, two weeks later and after a lot of help, here we are, almost done with demo...and because this took so long and I don't want to shove it all into one post I will divide it into three.
Trim removed, all prepped and ready for demo.
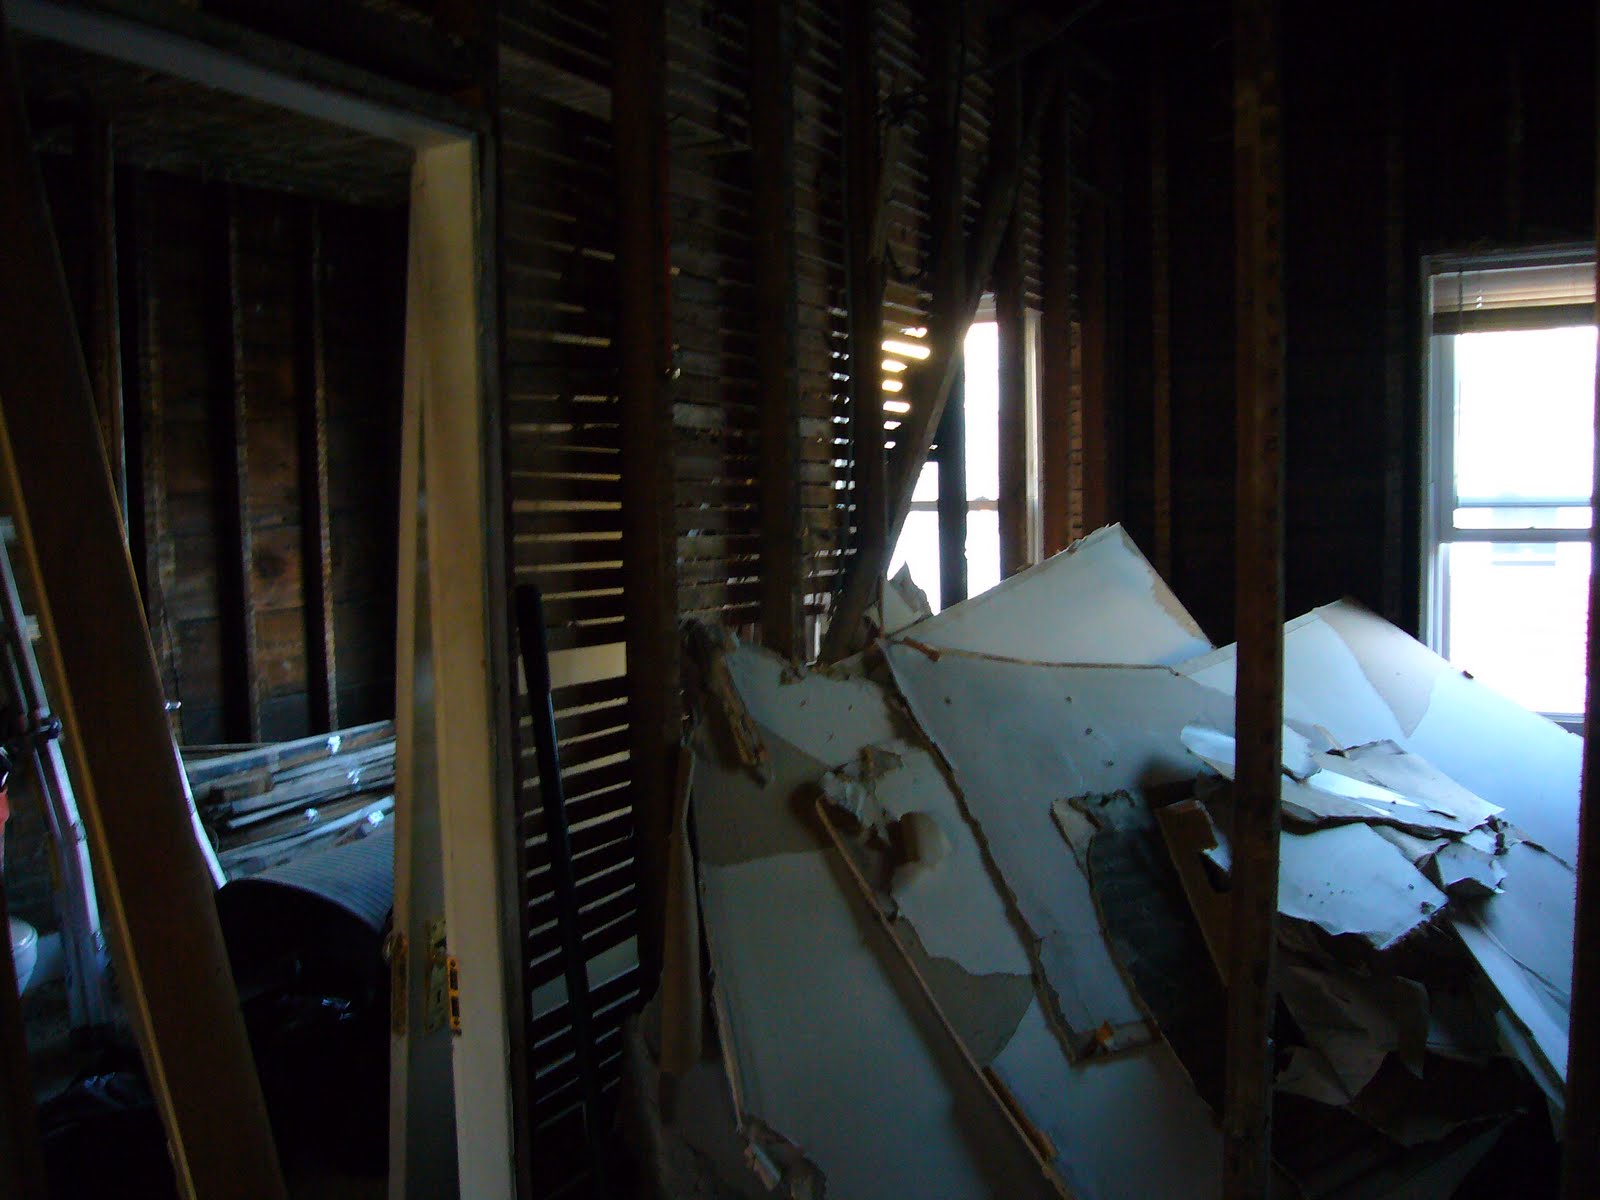
 I never seem to get enough before pictures before starting to hack away at something. Other side of the room with the wallboard removed (it was covering a previous door opening). Now time for the plaster.
 Well there you go. Plaser removal doesn't really lend itself to stopping to take pictures along the way. We pretty much strap on one of these, close the door, open the windows and go to town. Thankfully we got an amazing tip from Bob (the demo guy) when he was in giving us a quote for how much he would charge to finish the work (we obviously opted to do it ourselves). So anyway, we had previously been hacking into each wall, hooking our pry bars through the lath and then just pulling chunks down...plaster and lath together. This makes for a super painful clean up that we always dreaded...see bathroom demo. Bob told us to take a shovel (we actually used the long scraper from the linoleum removal), beat the wall up a little (this loosens the plaster that drips down behind the lath holding the two together), then just scrape the plaster away from the lath with the shovel/scraper. Seriously guys, amazing. So much easier. Then you just shovel up the plaster and bag it and no more trying to shovel tangled sticks and plaster chunks. Thank. You. Bob.
 Goodbye plaster. Is it just us or does anyone else think the lath looks really cool? I have seen a lot of houses where they did just that...left it in a hallway...or a study. Neat idea. P's bro actually told us about some house in Huntsville where the people removed all the lath, cleaned it, then re-hung it all, then I think grouted it and stained it. Intense.
 In case you were wondering what a room full of lath looks like put into contractor bags. Challenge of the year: not putting too much plaster into each bag so that it ends up weighing a ton and can't be carried anywhere.
 Loving that lath.
 Close up of the chimney hiding out in hopes that I won't tear it down too (I am totally tearing it down, more on that later).
 Favorite find from this room came from that very stove hole into the chimney. I had never heard of these (having never owned or operated an old stove myself), but I'm guessing they were pretty common. This is not the one we found, I forgot to take a picture of ours, typical. Anyway, they are these funny little metal hole covers that I am guessing came in a variety of scenes (ours is actually more of a prairie). The metal wires slide into the hole and hold the little decoration in place. Adorable. The cover seen below was found on Ebay and can be yours today.
 This is what the room looks like now...just a little more lath removal and allll done.
I woke up this morning and spent the next 3 hours walking around like a zombie. I keep complaining to P about how "I used to be able to do this kind of stuff and not get tired" and "why am I so sore? this stuff shouldn't be making me this sore!". But tired and sore I am...so I guess there is no use complaining about it. Enough about me...more on the house!
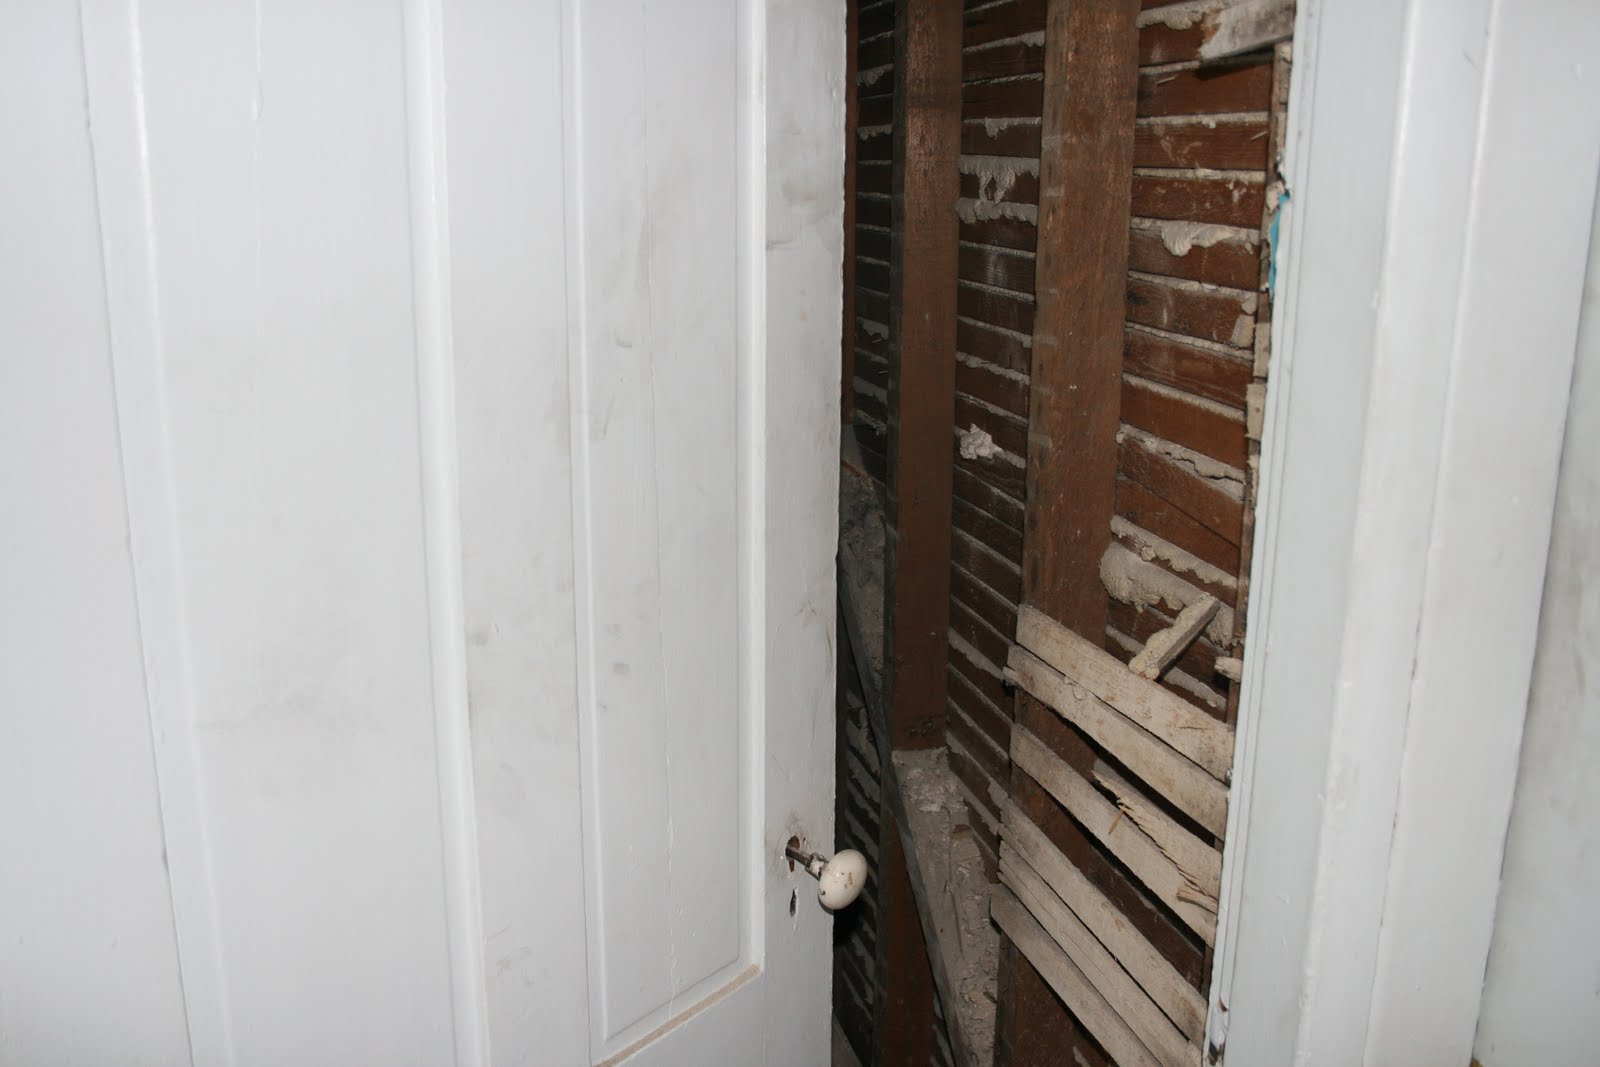
New wood has been sistered onto each joist downstairs to create a completely level ceiling. They were able to jack up the floor when they installed the LVLs, which took the slope from around 8" to about 2-3". A great improvement. So, we were left with a choice...install the ceiling at the slight slope or level everything out. Well, our contractor seemed to be of the opinion that most people wouldn't notice the slope, but that we probably would. I can't say whether or not the slope would bother me (maybe a little), but I know that it would drive P crazy. We went with the level ceiling. I think it was a good choice. They also put the blocking in under where the upstairs wall currently exists. We might be moving this wall...I don't know, we will see. Back upstairs in the teal bathroom look what we found! Another door! Ok, so this is the third door that we have uncovered inside of the walls...well, technically second, but we know that there is another one connecting the bedrooms that hasn't been uncovered. Who wants to be there is a fourth door connecting the front bedroom and the mini room/closet? Look at the weird way they blocked this door in. I can't figure out why they did it like this. It must have been pretty entertaining to me because I took like one million pictures of it.
 More lath. I can not think of anything I dislike more right now than the aftermath of demoing lath and plaster.
 I also can not figure out if the walls were really painted teal on top and black on the bottom...or if maybe there was bead board over the black. Teal and black is definitely a statement.
 More of the funny blocking. Taking down walls like this always makes me wonder how long they lived with the crumbled plaster before they put drywall over it. From the looks of it they had some pretty big chunks where plaster had fallen off (see above the door).
 We closed the door and went to town and got everything in the bathroom pulled down.
 Ta da! No more plaster, no more lath. Oh wait, it's still all over the floor.
 Did I mention we actually don't have power upstairs anymore? Nope. The pictures above were all lit from my flash. This is what it actually looked like. Don't worry we had one of these for light while working. But just one. We are cheap.
 The pile. Need I say more?
 The pile after bagging for around an hour.
 A shot of my sweet roof patch skills from below. It's not leaking...yet. Remaining lead flashing to be pulled down soon.
 An old wasp nest? Maybe yellow jacket? There is also one near the chimney we took down. Imagine that...water gets in...wasps get in.
  "Mock-up" of future door location. Actually we just had the door propped there and P said "well, that's about where the door will be on the new bathroom. Take a picture". So there you have it...mock-up.
 As you can see in the picture above there is still debris all over the floor. Yeah. We didn't get it all cleaned up. We are calling in the professionals tomorrow to see how much it will cost to have them wrap this demo nonsense up. I am over it. We have way more important things to do while P's dad and bro are here next week. Like re-framing all the windows, re-framing an entire wall downstairs, removing the remainder of the chimneys, the list goes on (believe me).
Any good thoughts sent our way about very inexpensive demo quotes would be greatly greatly appreciated.
Saturday wasn't the most productive day ever, but we were super excited to arrive to one exciting change! (more on that in a minute)
P was able to get a lot of the drywall down in the bathroom upstairs. And look...teal walls! Wow. That combined with the awesome brown wallpaper that we keep finding on all the other walls I am starting to think that a very talented decorator once lived here {enter sarcasm here} and I can only hope to do as good of a job. Ok, ok moving on. In case you have forgotten the only thing anyone has done to this house over the years is add layers to what was there before. So...lath, plaster, many layers of wallpaper, drywall, wood paneling. Or...wood floors, paper, glue, linoleum, glue, more linoleum. Gross. Anyway, my point is...drywall is only the first layer of stuff to remove from the bathroom. We have a long way to go. Awesome door handle on the bathroom door.
 We plugged up the skylight/former drop pipe penetration! There will be no rain (hopefully) in my yucky house. Well, at least not through that hole.
 I guess they didn't know how to properly frame in windows? Or maybe this is how framing around the windows was done in the 1800s? I don't know, but we get to redo it all now.
  Ok, so now on to the downstairs. Look! No walls! No temporary walls either! This is very exciting.
 One big open room. So much better.
  The boys had a very positive reaction to the new setup and can not wait to move back in. (Yes, they told me that)

Whew. When I look at these pictures I see so many projects that we have to accomplish! It's hard to know what to start next. Thank goodness P's dad and brother are arriving in 6 days! It is going to be so so great to have not one, but two extra sets of hands (and super experienced hands at that). We are so lucky they are coming!