Showing posts with label bathroom. Show all posts

Friday, May 13, 2011

Mirror, mirror on the wall: aka Half-bath Mirror.

I really hope the fact that I'm just getting around to hanging this mirror isn't any indication for neglect of what might be found at Brimfield 2011.1.
That sucker is pretty old and heavy, and I didn't trust those old wood pieces holding the mirror into it's frame. So I bought some of these metal thingys that you push into the wood to hold the mirror in. They have a real name and are not called thingys, but I don't remember it right now. I found them at the HD along with the picture hanging kit I installed on the back of the frame.

After cleaning off the back and making all my little hardware modifications I flipped it over and polished the crap out of the frame with Howard Feed-N-Wax, which is awesome.

Then we hung it. Ta-da! Ok, you can't really tell. But it's clean, and shiny, and I think it's kind of the perfect size for the mini bathroom. Oh, and we hung up a towel hook. So now we are civilized. No more paper towel roll and Ikea mirror propped up on top of the sink.

Like that lopsided pic? P's got mad picture taking skillz.

Now we just need to find a tp holder that we both like that doesn't cost $300 or $30 for shipping from Europe.

Wednesday, November 3, 2010

Fall Back Already!

So, the whole get up in the morning early isn't working so well. I think this is the first time I have actually been excited for the whole "fall back" daylight savings thing. Usually I would be moping about how it will be dark outside long before I even leave work. Nope. Not this year. This year I need morning light!
In other news, we are expecting a very exciting delivery tomorrow. Our tub and the rest of the bathroom fixtures! P is taking the day off to receive the (very large) shipment...and to do some framing since we have repeatedly failed at framing in the mornings. Here is some of the stuff we got:


Faucet for the downstairs bathroom sink.


Shower head, trim and tub filler.

And, yes, that is a whirlpool tub. Ooooooh fancy. We have officially joined the ranks of middle class suburban developments everywhere. Yesssssss.

Ok, I think I will save the other fun stuff for when we are actually installing it all...hopefully that will be before the end of 2010? Ugh.

Tuesday, October 26, 2010

Framing begins.

Now that the bulk of the demo is done (and been dragged away in a massive dumpster) we have even more framing to do that we originally thought. We have to start with a few key walls in both bathrooms so our plumber can (finally!) get started.

Porky found a safe spot to lay on one of my many birthday gifts. Cement board for the bathroom!

My dad helped us pry up the newer flooring underlayment so that the new tile will be closer to the level of the hardwood in the hallway. The area under the toilet was part rotted and part missing, so we cut a clean edge to easily replace the two layers.

The first layer of plywood cut to size and put in.

Then the second layer using scrap pieces we had laying around from the kitchen window re-framing.

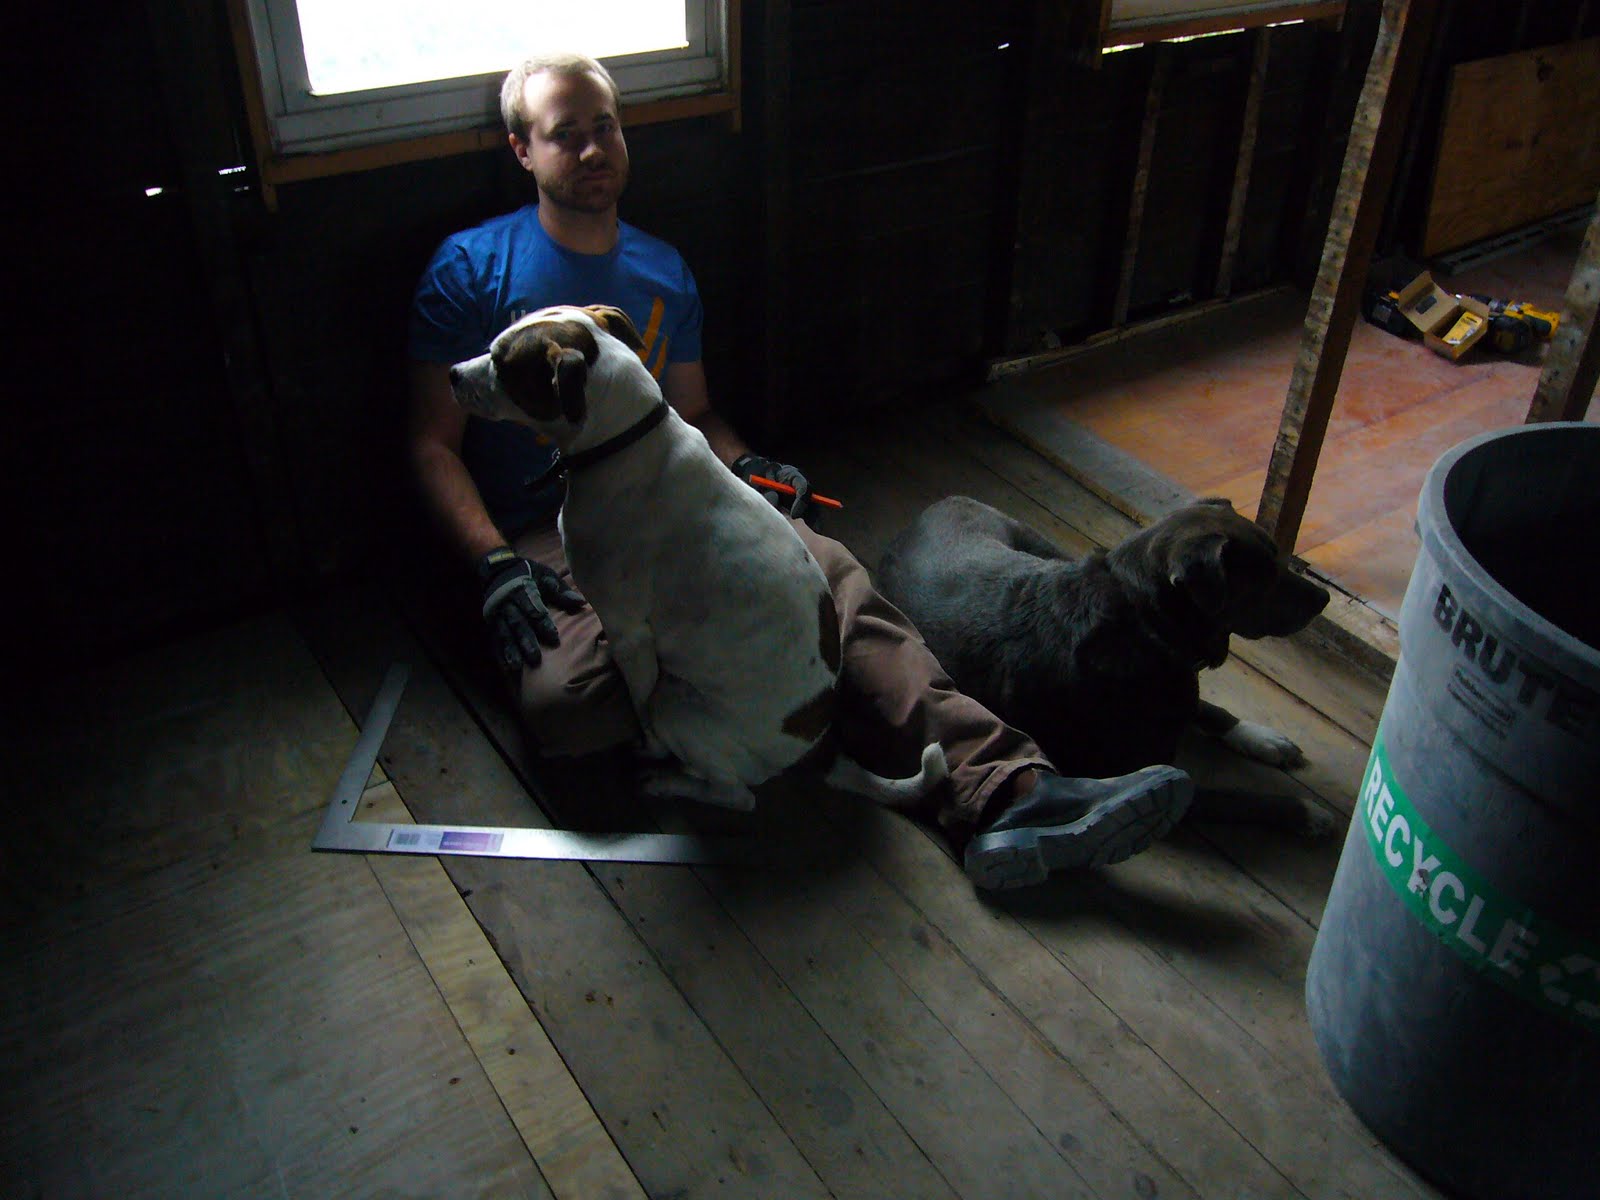
This is my excuse for why everything takes so long. Dogs. Maybe they think they are helping?

This is about as far as we got before there was a knock, no, a banging on our front door. Of course we already knew who it would be...our friendly neighbor Tommy. Now, when I say friendly, what I actually mean is "he hates our guts". This is only something we had guessed, and was confirmed last night when he informed us that he is "sorry you *expletive people ever moved in". Well, ok then. Point taken, we will no longer be doing any work on the house that makes any kind of noise past 7pm. Awesome. Guess what I will be doing tomorrow morning before work? Yeah.

Thursday, September 30, 2010

Bathroom Demo.

I woke up this morning and spent the next 3 hours walking around like a zombie. I keep complaining to P about how "I used to be able to do this kind of stuff and not get tired" and "why am I so sore? this stuff shouldn't be making me this sore!". But tired and sore I am...so I guess there is no use complaining about it. Enough about me...more on the house!

New wood has been sistered onto each joist downstairs to create a completely level ceiling. They were able to jack up the floor when they installed the LVLs, which took the slope from around 8" to about 2-3". A great improvement. So, we were left with a choice...install the ceiling at the slight slope or level everything out. Well, our contractor seemed to be of the opinion that most people wouldn't notice the slope, but that we probably would. I can't say whether or not the slope would bother me (maybe a little), but I know that it would drive P crazy. We went with the level ceiling. I think it was a good choice. They also put the blocking in under where the upstairs wall currently exists. We might be moving this wall...I don't know, we will see.


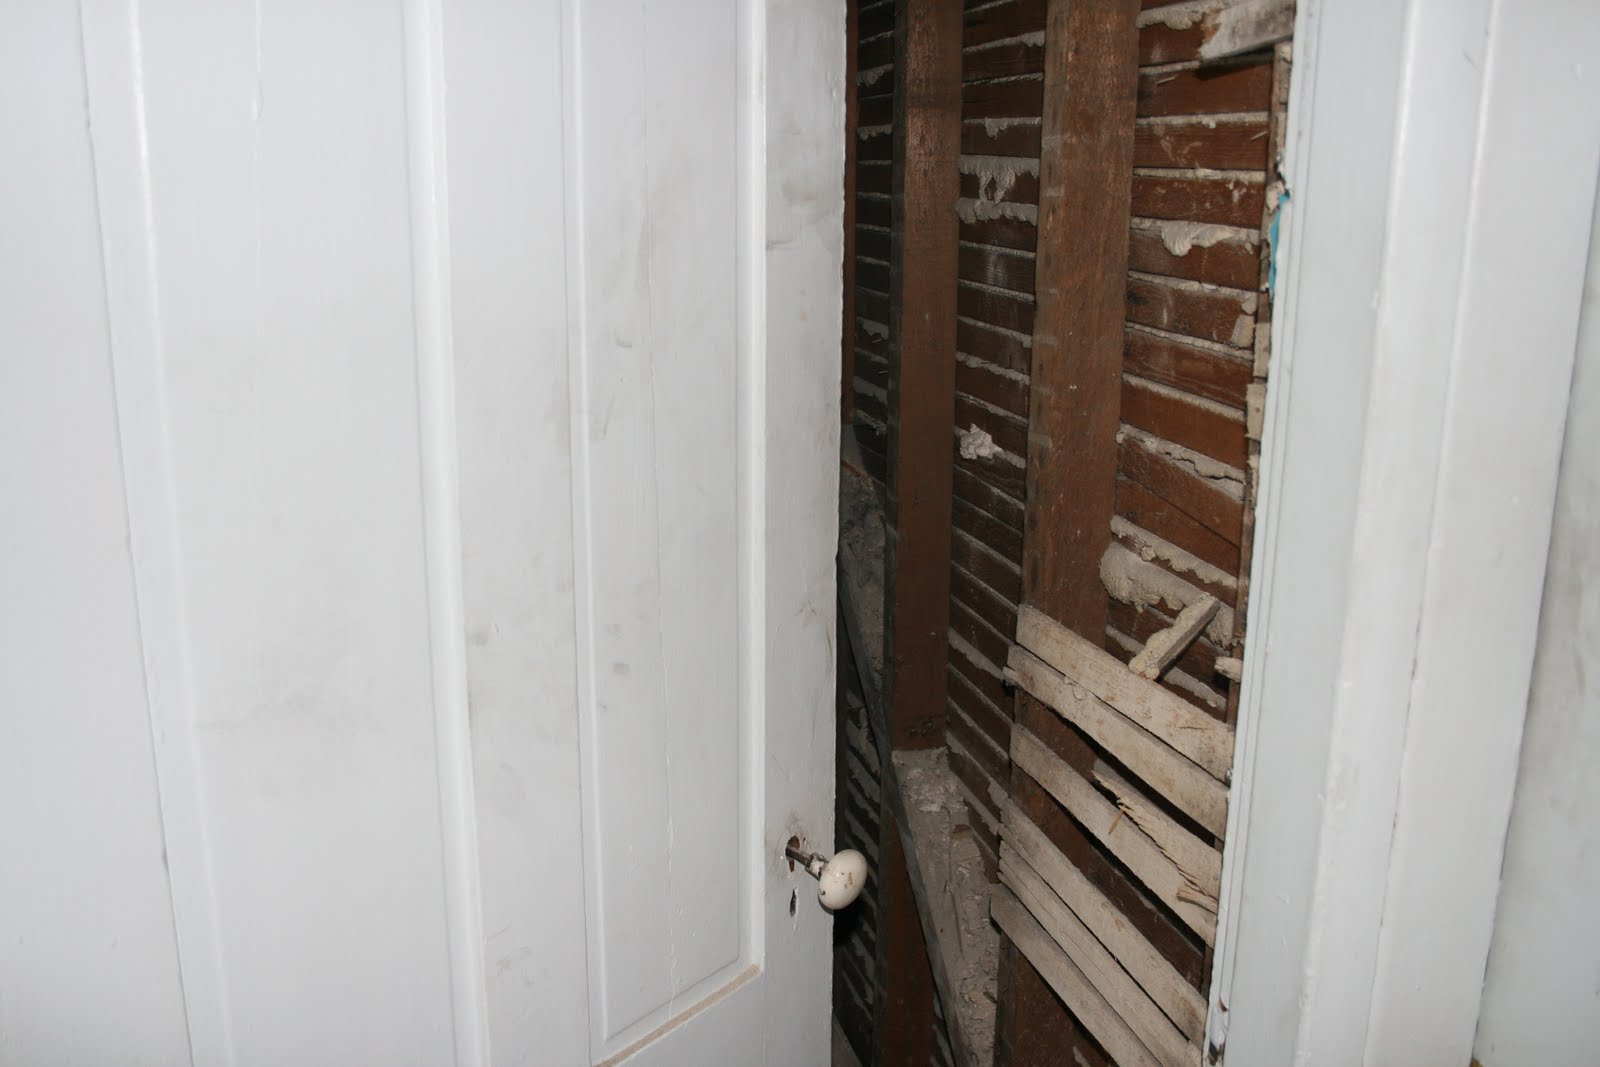
Back upstairs in the teal bathroom look what we found! Another door! Ok, so this is the third door that we have uncovered inside of the walls...well, technically second, but we know that there is another one connecting the bedrooms that hasn't been uncovered. Who wants to be there is a fourth door connecting the front bedroom and the mini room/closet? Look at the weird way they blocked this door in. I can't figure out why they did it like this. It must have been pretty entertaining to me because I took like one million pictures of it.

More lath. I can not think of anything I dislike more right now than the aftermath of demoing lath and plaster.

I also can not figure out if the walls were really painted teal on top and black on the bottom...or if maybe there was bead board over the black. Teal and black is definitely a statement.

More of the funny blocking. Taking down walls like this always makes me wonder how long they lived with the crumbled plaster before they put drywall over it. From the looks of it they had some pretty big chunks where plaster had fallen off (see above the door).

We closed the door and went to town and got everything in the bathroom pulled down.

Ta da! No more plaster, no more lath. Oh wait, it's still all over the floor.

Did I mention we actually don't have power upstairs anymore? Nope. The pictures above were all lit from my flash. This is what it actually looked like. Don't worry we had one of these for light while working. But just one. We are cheap.

The pile. Need I say more?

The pile after bagging for around an hour.


A shot of my sweet roof patch skills from below. It's not leaking...yet. Remaining lead flashing to be pulled down soon.

An old wasp nest? Maybe yellow jacket? There is also one near the chimney we took down. Imagine that...water gets in...wasps get in.

"Mock-up" of future door location. Actually we just had the door propped there and P said "well, that's about where the door will be on the new bathroom. Take a picture". So there you have it...mock-up.


As you can see in the picture above there is still debris all over the floor. Yeah. We didn't get it all cleaned up. We are calling in the professionals tomorrow to see how much it will cost to have them wrap this demo nonsense up. I am over it. We have way more important things to do while P's dad and bro are here next week. Like re-framing all the windows, re-framing an entire wall downstairs, removing the remainder of the chimneys, the list goes on (believe me).
Any good thoughts sent our way about very inexpensive demo quotes would be greatly greatly appreciated.

Thursday, September 23, 2010

House Renovation: Week One

Wow. It's been a long week. We've moved and simultaneously plunged into a major renovation. Surprisingly, while we are tired and stressed, we are having a great time. We are so lucky to be doing this renovation and to have the help of our wonderful families and friends. Thanks y'all! I've been trying to keep up with the process in between work, contractor meetings and late night gutting/moving stuff out of the way for the next days step. Proof that this is really all happening below:

On Monday our house received a delivery of LVL's, strapping and other lumber...poor little house was stuffed to the brim.

The old rotting wood column and jack column were removed from the basement, old concrete was cut out and a brand new footing was poured!

The plumbers had to come in and cut the old cast iron pipe and all other old plumbing that was in the way of the LVL installation.

Check out those notched beams under the bathroom! Yeah, I was scared to walk on the floor above that (no worries it's fixed now!).

We gladly came in Monday night after a long long weekend to tear out the rest of the lath, plaster and wood paneling in the entry hall so that our contractor could install beams in that area too.

Goodbye toilet. Hello downstairs.

Our very own accidental skylight in the bathroom. We managed to patch this one up last night about one hour before it started raining. And by we I of course mean P because I was too scared to get all the way up on the roof. I know, I know...I'm a chicken. I think I'm going to brave it this weekend in the sunshine...not as the sun is setting...and no, I don't know why that makes a difference.

I had to throw this one in. We had to turn our clawfoot tub on it's side to get it through the bathroom door (it's a fatty). This is what we discovered on the bottom, circa November 14th 1935. Our plumber picked up one end and said "oh yeah, this is one of the light ones". Ummmm, my arms beg to differ. I guess I am just thankful we don't have one of the heavy ones. Btw, anyone want to buy a tub?

Just look at this beam! Isn't it beautiful!?! Most of the joists under the second floor are getting one LVL sistered onto them to stiffen the whole house up (it really has worked, the upstairs used to be like a trampoline). Then two beams (made of three LVLs each) will sit on the sill and carry the load from upstairs. All of this to remove two interior walls (and stiffen up the whole house). It seems excessive, but guys, I can already tell it is so worth it! I can't wait for wall-less pictures!

Speaking of wall-less pictures. Proof that one of the walls has already been removed! We plan on filling in where the walls once were with a contrasting hardwood and then finishing the floors all at once.

Just two days after delivery, look how much smaller that pile of LVLs has gotten! Oh I can not wait to get over there tonight and see the progress. They are hoping to have all installed by the end of this week...which means, no walls no walls! So exciting.

Back down in the basement the two lally columns have been installed. See them there in the back?

Renovations make Porky tired.


Whew. It makes me kind of tired just looking at the photos. I know some of you might be thinking, "what are K and P doing during all of this?". Well, over the next week we have to continue coordinating with the professionals while simultaneously gutting the rest of the upstairs and getting the demo debris out of the professionals way. It doesn't sound all that hard, but it really is. Plaster is heavy heavy stuff. Yuck. So, in the words of our electrician, "wow, you guys have a lot of work to do before I can start". Yes, yes we do.

Monday, September 20, 2010

We've Moved!

Well, sort of. Maybe I should say "We're moving"...on the house that is. Yes, it is true work, real work, has begun on our little dog house. We toted many of our belongings across the Charles River on Friday to our temporary living quarters (which I love), while our one and only bathroom was simultaneously being ripped to shreds. Exciting stuff, and scary. We have officially passed the point of no return. There is no screaming "stop!" and just moving right back in. The plumbing is being torn out as I type this. The plumbing had to go quickly to make room for the LVLs that are going to be installed throughout the first floor, which will allow for the two interior walls to be removed. Yay! I am told there was a delivery today and our future kitchen/living room is filled with engineered lumber. Things are happening fast...it makes my head spin. Can't wait to get home tonight and see the progress!

Juan of Timberwolf Construction is starting in the basement and working his way up. First, he will replace the wood column and jack column you see below. Don't you love how he tented the area to contain the concrete dust? So great.

Proof that the contractors have arrived.


We had to open up the walls around the plumbing so that it could go bye bye. Bye bye nasty plumbing! P pointed out that it looks like the bathroom in a nasty dive bar...I can imagine that many of the bars around our house have bathrooms that look similar to this. Pretty gross looking, right?


Heading home after work to continue demo. Will hopefully be sharing rapid progress soon!

Wednesday, July 21, 2010

The indecisive architects strike again.

Ok, so during this "down time" while waiting on our permit we have been working through some new designs for the upstairs. For a while now we have been set on the layout on the left below. This involved using the front (street side) bedroom as the "master" and making the ridiulously small room my super awesome walk-in girly dressing room closet. In the hallway there would be a small built in shelving unit to house linens etc. and the back bedroom would be our office/guestroom. This all sounded great (mostly the closet), but some things were still bothering me. First, there happens to be a street lamp right outside on of the windows. I had mostly convinced myself that this would be ok, that we could purchase some of those awesome shades that block the light....maybe even put them on timers so that they would raise in the AM and let the sun in. The thing that I think really started to deter me was the fact that the bedroom would be on the public side of the house. Once summer heat and I started realizing that our windows would probably live open for three months of the year the idea of waking up to construction/small children/neigbor noise didn't sound so great. The noise difference in the front and back really is huge for such a small house...and I guess I just realized that...maybe that is why they tell you to live in a house for at least 6 months before renovating? Good thing this is taking so long. :) Anyway, so the image on the right is what we are thinking now. Since we have to move out of the apartment...why not just gut it all. Right? RIGHT? Oh lord...we are crazy. Anyway, so as you can see...no more dressing room for K. It's alright, the princess will survive. The plan is to use the back bedroom with a wall length wardrobe style closet (sliding or regular doors TBD). We will open up the front two rooms to become the guest/office/library. Obviously the bathrooms are different in each of the plans below (keep reading). Thoughts? Is it worth the change for my privacy/night time darkness?


Some sweet little basic renderings of what the front room would look like in each scheme (corresponding with the plans above). (The closet in the rendering on the right is actually shown a little larger than it would be in real life, blame P)

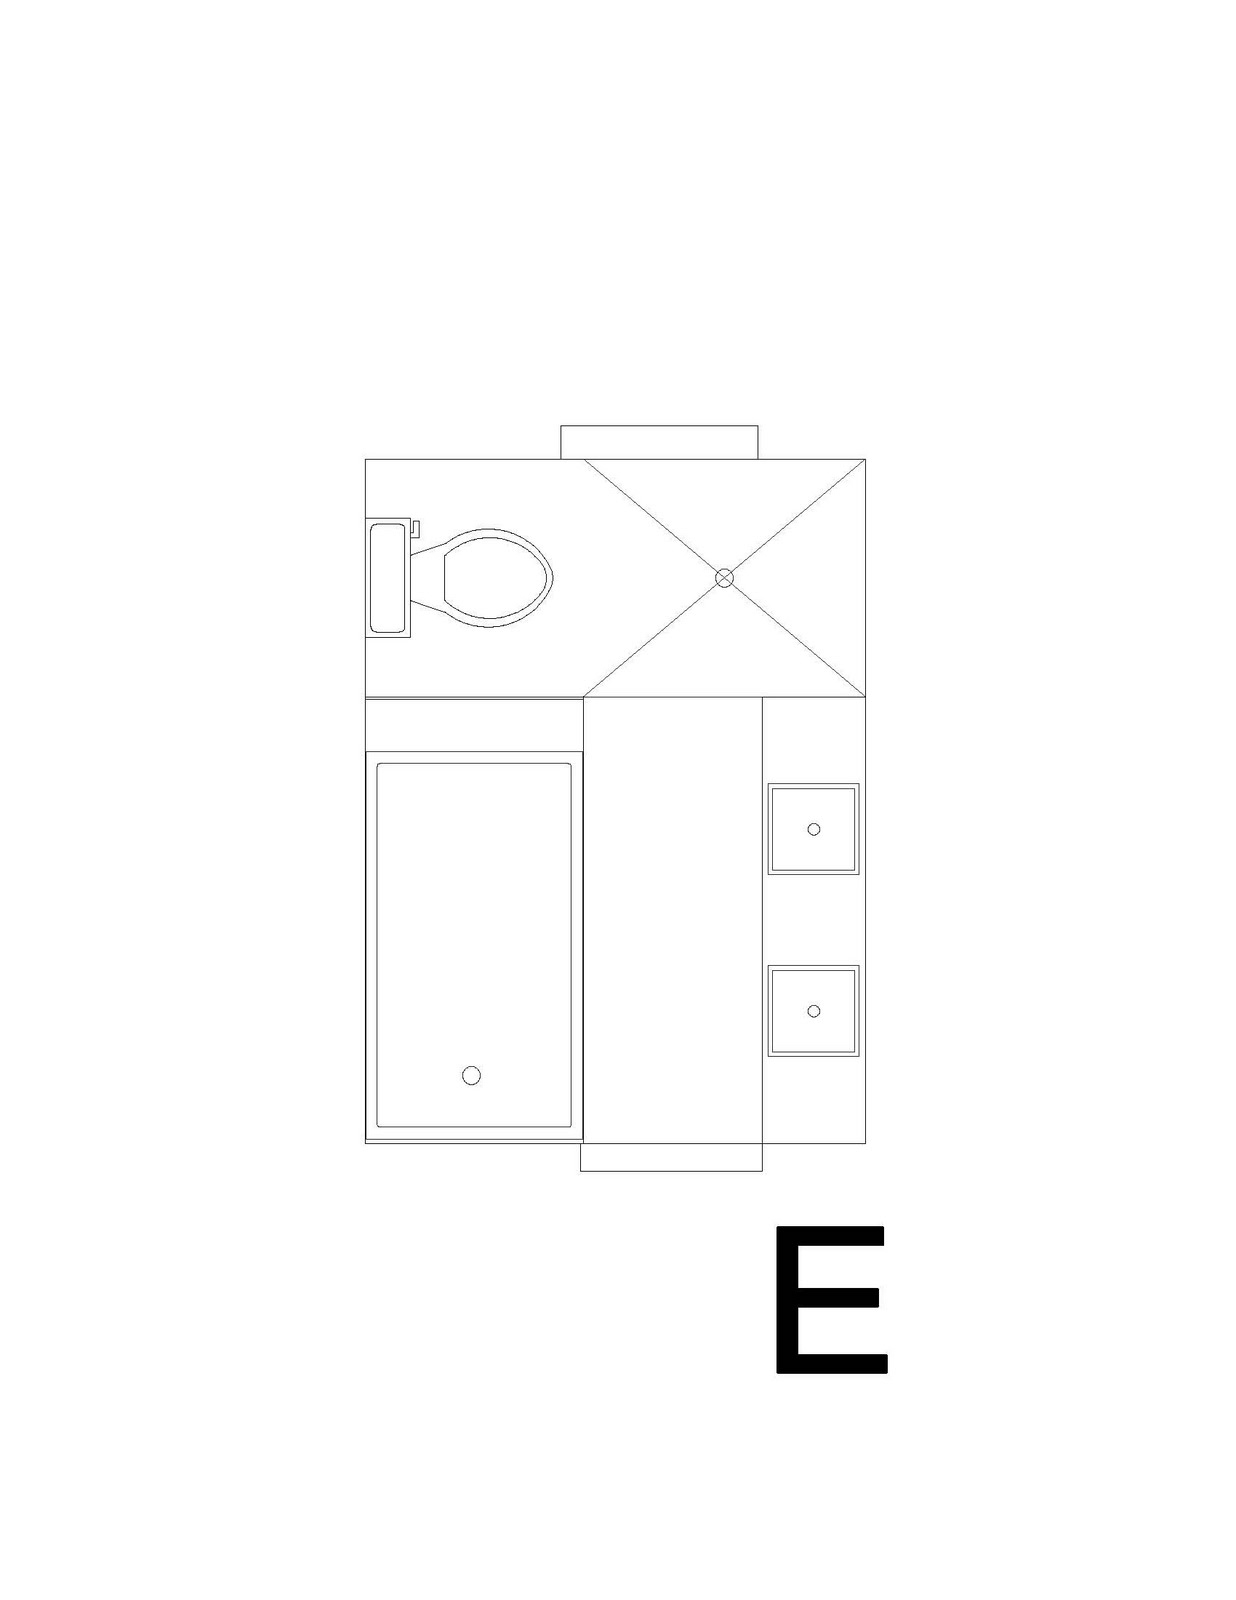
Ok, so that brings us to the bathroom (the thorn in my side). Why is it such a pain? Because I want EVERYTHING in my bathroom...and it is small. Ok, not "Manhattan, must bend body at an awkward angle to get to the toilet because the sink is in the way small", but just shy of large enough to fit all the luxurious bathroom things that you see in architectural/renovation magazines and blogs these days. Solution? Try and squeeze it in. P was nice enough to churn out a bunch of bathroom options below. Some might work, some are ridiculous, we decided to share all of them because we are nice like that. :) Anyway, so the bathroom is keeping its current footprint as far as the size goes (9'6"x6'10"). It's the layout we are struggling with. My general feelings about these layouts:
Option A: This is approximately how the layout has been for a couple of months now. My problem with it is the sink placement...we originally had them both squished across from the toilet on a small vanity. Then we realized, that they were way too close together! (30" center to center is necessary, I guess, whatever) So, now it bothers me that they don't really line up. The area to the right end of the tub would be wall shelving...so I can clutter it up and drive P crazy. Open shower, glass partition.
Option B: I generally think this one could work. I do have weird feeligns about showering next to the toilet (I don't know why) and so close to the window (obviously we are going to have to have shutters or a screen of some sort). Glass partition at end of tub. Open shower.

Option C: Just like option B, but shown with a clawfoot tub. I like the idea of a clawfoot still, but ours it shit. Our bosses offered their clawfoot from their Cape house they are renovating, that was a while ago, so I don't even know if the offer is still good.
Option D: Awkward. Repeat all comments above about showering near window, plus add in that this would require major waterproofing efforts around the window (which we will probably do anyway), but having so much water hit the sill seems like asking for trouble (the sill is 2'4" above the floor). Does that make sense?
Option E: Why not just do option B? It makes more sense.
Option F: I dislike greatly, feel free to convince me otherwise if you see potential in the layout.
Option G: That would be one stinking big shower (although all of the showers are open thus far...so I guess they all would feel big). The sinks are too close together, so I don't think this will work.
Option H: This could work, but I am not crazy about the layout.
Option I: This one I really like. Obviously the shower and tub become a combo. Problem: how does the door work? We have always talked about maximizing space with a pocket door, but you can't put one in a wall with plumbing or electrical. Maybe we could double the thickness of the wall behind the tub and that would work?
Option J: Simplified, keeping all the plumbing on one wall. Sinks too close together, looks cramped, shower water hitting the window...dislike.


Well, there you have it. My thoughts. What are your thoughts? Help?!?

Fyi: If you click on the link in Option A you can pretty much see the material pallate if that helps with the visualization. Same floor tile, white wall subway tile, same sinks, faucets, glass. Yeah.

ps. Appologies if the sizing looks off on any of these. I had to scale and had some "issues" with it. I promise the bathroom is the same size in all of them.