Thursday, February 24, 2011

The First Step.

It's admitting you have a problem, right?

Last Friday morning I peered out the window and to my crazy cluttered hoarding joy realized that our current upstairs neighbor had purged his apartment of years of junk. So like any completely sane and normal person I happily skipped toward the front door while simultaneously squealing something to P about chairs on the street. To his horror, not 15 minutes later, I had drug this through the front door.


In my defense I left the second chair on the street, and passed up our neighbor's offer to another chair in the basement. In case anyone's counting, this makes chair number three needing reupholstering. Totally normal.

Wednesday, February 23, 2011

No More Ducking.

I decided to break up our renovation fun from the long weekend into three posts...mostly because it was a relatively productive weekend for us lazy bums and I didn't want to jam all that into one post. We were able to accomplish most of the big ticket items on our list in preparation for our framing inspection next Monday. Yikes! I'll admit it, I'm a little nervous.
First up was the re-framing of the ceiling slope over the stairs. When we had the downstairs wall removed we opted to move the head height at the base of the stair back one joist bay. This allows P to walk down the stairs without ducking at the end...a true luxury.
After much debate and planning we decided that we wanted the plaster to transition from the vertical into the slant through a curve. Simple enough, right? Surrrrre.
The first step was to cut the flooring back to the joist that is now reinforced with a triple LVL beam. Check out that face of determination.

The next step is to forget to take any more pictures. Am I the only one that is tired of us doing that? In our defense, we were very busy "debating" the best way to go about this.

The final solution involved cutting the curve out of the wood using a jig saw and then terminating the angled pieces into the base plate of a wall.

The combination of moving the head height of the stair back and combining the front two rooms into one mega room created a bit of a problem at the corner. As in, check out that huge sloped thing in the corner. No big deal, we thought, we will make it a closet. P always pictured it as a built in piece of furniture type closet, but I always thought It'd be better to build an actual closet to be dry walled. You know, so there wouldn't be a big plaster triangle just hanging out in the corner. Although, I will admit, I had a few short daydreams about sliding down that triangle...in my spare time or whatever. Um, anyway, we decided building the wall would give the funky triangle a good termination point, so that's what we did. Doors will be added to the front later and P has some ideas about filling the negative space of the triangle in with some custom drawers. Works for me.

Right now it's a toss up between built in desk in the corner or a cozy little reading nook where I can spy on my neighbors. I'm leaning towards the creeper reading nook.

Upholstery Class #4

Week #4 left me feeling a little slow and unproductive. I'm hoping that it's just the waiting part that comes after I've finished a task and the teacher hasn't made it back to me yet...and not actually that I'm a slow poke.

I covered the inside back, sides and seat springs with burlap.

Next I stuffed the arms with cotton. I thought I had done it right and the teacher came over and laughed. Apparently you are supposed to really stuff it. I only had 1/4 of what was necessary. He said you want to stuff it until it's hard, this provides the base for the arm so that you never feel the wood when you rest your arm on the arm rest.

So then I really stuffed it. And stapled it down.

Finally I got to whip out the muslin and have my first turn on the sewing machine. The teacher did the first couple of passes and made it look sooooo easy. Then I got on the machine...and looked like a complete dummy. But, I finished it, without breaking the machine. Did I mention that this wasn't even my first time sewing? Total dummy. I think I need some practice.
Once the muslin cover is sewed you put it in place over the seat and whip stitch it down through the coils. Whip stitch? I think that's the right term. You use curved needles.

So I didn't finish stitching it down. Here's hoping tonight's class will be more productive!

Friday, February 18, 2011

Happy Making.

A good friend gave us a gift over a year ago that she knew we would love. And we did. Unfortunately, there was a recent event involving a tumble off a table that didn't end well for one of the little guys.

So we replaced it. And added two more to the collection. Love.

Wednesday, February 16, 2011

Wait, I thought you said there was no snow on the roof...

Dear whoever told my next door neighbor that all the snow had melted off of my roof,
That wasn't very nice of you. That gets peoples hopes up. Then those people have to force their friends who have taken the early bus from Manhattan up a very long steep ladder* to shovel the ten inches of snow that is actually on the roof.
Thanks,
K


*There was totally no forcing involved, she was actually very willing. Trooper. Me on the other hand...

Puppy!
(Photo's provided by super awesome, AU Alum, NYC resident, roof snow shoveling friend...who we should probably show a better time on her next visit)

Monday, February 14, 2011

Upholstery Class #3

Springs! After a week off of class due to snow storm #4529 this winter, I spent session #3 of upholstery class attaching the new seat springs. Weather must be warming up, because this is the first week I think that all of the class members showed up. Packed house. The poor instructor was running in circles for the whole three hours, luckily he was able to explain each step and then I could work on it as he made the rounds to other students and then I would be ready for the next step by the time he returned. Not too much standing there looking confused, so that was good.

Step 1: Space the six springs out equally on the bottom webbing, making sure that they are not close enough to touch each other.


Step 2: Use “the clincher” to staple down the springs. (I tried to find a picture of this online and only managed to possibly open a site with a potential virus...but I think this is what he called it)


Step 3: Hammer in tacks in sets of 2, one set to line up with each row of springs and then another set to be in between the rows for the diagonal bracing. Repeat for the front, back and both sides. (Confusing? You will see what I mean)


Step 4: Cut one piece of Italian Ruby Twine to a specific measured length (this will differ for the chair you are working on) for each nail set along the back and one side. Loop the twine over the tacks like Mickey Mouse ears.


Step 5: Starting from the back, tie down the three rows of springs. This involves a method of looping over the correct part of each spring and tying a knot and then pulling the springs tight tight tight. I couldn't even pull them tight enough. Teach had to do it for me. I'm a wuss. Once they are tight you spiral the twine towards the back and knot it again.


Step 6: Repeat the same thing going from side to side, only this time you don't have to pull the springs tight, because they already are.


Step 7: Repeat the same thing with those middle strings, this time going across the diagonals.


Step 8: Knot down all the loose strings. Then pull some cotton off of your huge roll of cotton that teach told you was required and stuff chunks of it under the last coil of each spring. This is one of those “insider tips” from the teach, it is supposed to stop the drum sound that springs can sometimes make each time you sit down. I like insider tips.


There you have it! A poorly explained step by step of class numero tres. Something tells me my future isn't in “how-to books”?

Still fabric shopping. Made a visit to IKEA over the weekend and wasn't all that thrilled with the fabric selection there, so I'll keep hunting. Can't wait until class #4!

Wednesday, February 9, 2011

Progress.

Thanks to our new camera, I've got a handful of progress pics to share. Over the past two weekends all of the rough in electrical work was completed (sadly none of it is connected, so we are still running on two outlets, shop lights and pipe dreams) and I just found out that the inspection will be this Friday! On the plumbing front things have been, well, a little slower. Let's just say that once this project is finished I will be recommending this plumber to no one. No one. In fact, I'm sure I will encourage people not to use him. A story for another day, maybe.

Anyway, on to more positive things. The strapping/furring of the whole house for the drywall is now complete. Thank you old house and old studs none of which line up or are the same size or go straight up and down. Super. It's what we get for buying a house built in the 1880s that is partially held together by sticks and spit. Mmmmmm. Oooops, getting negative again. Strapping/furring and fire blocking done!...pretty much. Electrical rough in done. Plumbing, getting there. Our plan is to have all inspections done by the end of next week.

Check. It. Out.


I will attempt to put together more detailed separate posts for the electrical, plumbing and some of the other work we've been doing later.

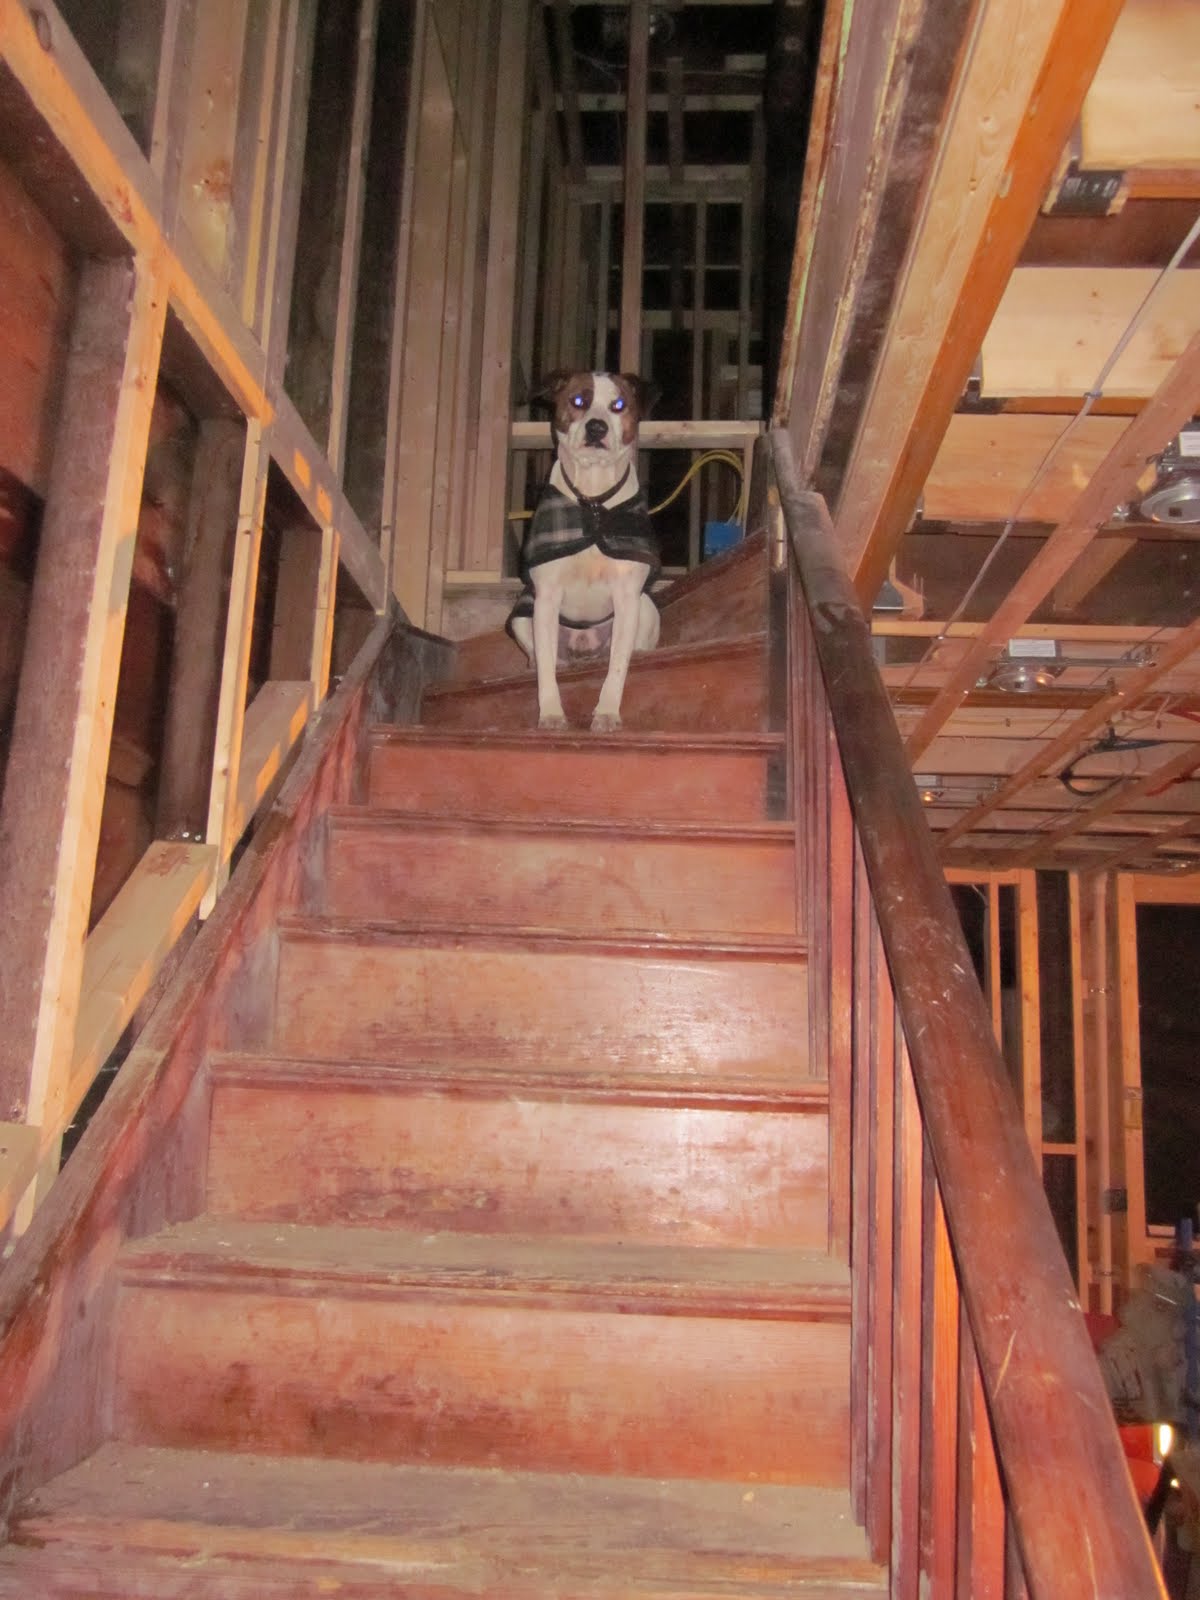
Busy, as usual, sits perched at the top of the stairs disapproving of night time renovating, cold weather, diesel powered heating and compressors.


But he will come downstairs for snuggling if he notices that you've put down the nail gun and moved away from the heater for long enough.